Dog-proofing a rental apartment is different from dog-proofing a house you own. You are not just trying to protect your dog from hazards. You are also trying to protect floors, doors, baseboards, carpets, neighbors, and your security deposit without drilling holes or making permanent changes your lease does not allow.
The safest way to dog proof a rental apartment is to think like a renter first: reversible, quiet, inspection-friendly, and easy to remove before move-out. That means floor protection that does not stain, gates that do not drill into walls, cord covers that peel cleanly, trash systems your dog cannot open, and cleaning routines that stop odor before it becomes a landlord problem.
This guide walks through the seven highest-risk areas in a dog-friendly rental: floors, chewing zones, cords, no-drill boundaries, trash and food, windows and balconies, and odor control. The goal is not to make your apartment look like a kennel. The goal is to make damage boring, preventable, and easy to document.
How to Dog-Proof a Rental Apartment: Quick Answer
To dog proof a rental apartment, start with the areas most likely to cost money at move-out: flooring, doors, baseboards, carpet, trash, cords, and odor. Use renter-safe products that can be removed cleanly, document the apartment before and after setup, and avoid anything that requires drilling unless your lease clearly allows it in writing.
| Rental Risk | Renter-Safe Fix | Why It Protects Your Deposit |
|---|---|---|
| Floor scratches | Washable rugs, runners, and non-staining rug pads | Protects high-traffic paths from nails, zoomies, and furniture movement. |
| Chewed doors or baseboards | Management, bitter deterrent, enrichment, and no-drill barriers | Stops damage before wood trim becomes visible evidence at inspection. |
| Electrical cords | Cord covers, cable boxes, furniture routing | Reduces shock risk and prevents replacement charges for damaged cords. |
| Trash raids | Locking trash can or cabinet placement | Prevents dangerous ingestion, odor, mess, and repeated kitchen damage. |
| Balcony or window risk | Supervision, barriers, and restricted access | Protects your dog while avoiding permanent balcony modifications. |
| Odor in carpet or furniture | Enzymatic cleaner and scheduled washing | Prevents smell from becoming the issue your landlord notices first. |
Table of Contents
The Renter’s Rule: Reversible, Quiet, and Inspection-Friendly
Before buying anything, ask three questions: Can I remove it without damage? Will it reduce noise or complaints? Would I feel comfortable explaining it during a landlord inspection?
If the answer is no, pause. Renters usually do better with removable barriers, furniture placement, washable textiles, and behavior management than with permanent hardware. Even a helpful product can become a problem if it leaves adhesive residue, dents drywall, blocks emergency access, or violates the balcony rules in your lease.
Take photos before you set up dog-proofing. Photograph floors, doors, baseboards, carpet, balcony doors, and existing marks. Save those photos in a move-in folder. If you later need to show that a scratch or stain was already present, your future self will be very grateful.
Dog Proof Rental Apartment Checklist
- Photograph the apartment before adding rugs, gates, or furniture.
- Cover high-traffic floor paths from the door to the bed, crate, food station, and balcony door.
- Move cords behind furniture or into covered cable channels.
- Use no-drill gates or freestanding barriers when possible.
- Replace open trash cans with locking or cabinet-contained trash systems.
- Move toxic plants, medications, cleaning products, and human food out of reach.
- Block access to balcony doors unless you are supervising.
- Keep enzymatic cleaner near the accident-prone zone.
- Build a calm exit routine to reduce door scratching and hallway barking.
- Keep a move-out folder with receipts, cleaning dates, and repair notes.
7 Renter-Safe Ways to Dog Proof an Apartment
1. Protect Floors Before Scratches Become Evidence
Floors are one of the first things landlords notice. Dogs create damage in predictable paths: the front door area, the route to the food bowl, the hallway sprint path, the space beside the sofa, and the spot where they launch toward a window or balcony door.
Start with washable runners or low-pile rugs in those paths. Use rug pads that are clearly labeled safe for your floor type, especially if you have hardwood, laminate, or vinyl. Some cheap rubber pads can stick, discolor, or leave marks, which defeats the entire purpose of renter-safe dog-proofing.
Trim your dog’s nails regularly and use enrichment before high-energy times. If your dog gets evening zoomies, protect the path where the zoomies actually happen rather than decorating the room you wish they used. For more on that behavior, link this article to your zoomies guide: dog zoomies in apartment.
2. Stop Chewing Before It Hits Baseboards, Doors, and Furniture
Chewing is expensive in a rental because the evidence is visible. A chewed chair leg is annoying. A chewed baseboard, door frame, cabinet corner, or built-in fixture can become a deposit deduction.
Do not rely on bitter spray alone. It may help some dogs, but it works best as one layer in a broader plan: block access, offer legal chew items, reduce boredom, and supervise during high-risk windows. Dogs often chew when they are under-stimulated, teething, anxious, or practicing a habit that has already worked.
The AKC’s trainer guidance on chewing emphasizes management and giving dogs appropriate alternatives, which matters even more in rentals where baseboards and doors are not yours to replace casually: AKC: how to stop a dog from chewing.
If your dog already targets furniture or trim, read the deeper troubleshooting guide here: how to stop dog chewing furniture in an apartment.
3. Secure Cords, Chargers, and Low Outlets
Cords are both a safety issue and a rental issue. A puppy or bored dog can damage chargers, lamp cords, router cables, extension cords, and low outlet areas quickly. In a small apartment, cords often sit exactly where dogs rest, walk, or investigate.
Route cords behind furniture where possible. Use covered cable channels along baseboards only if they can be removed cleanly. Put charger clusters inside a cable box or on a shelf. If you use adhesive clips, test one in a hidden area first and remove it slowly to make sure it does not pull paint.
A good rule: if a cord would look interesting to a bored puppy at nose height, move it before you leave the room. Prevention is easier than explaining chewed electronics, wall marks, or a veterinary emergency.
4. Build No-Drill Boundaries That Your Lease Allows
Many rental damage problems start because the dog can access too much space too soon. A no-drill boundary system gives you control without putting holes in walls or trim.
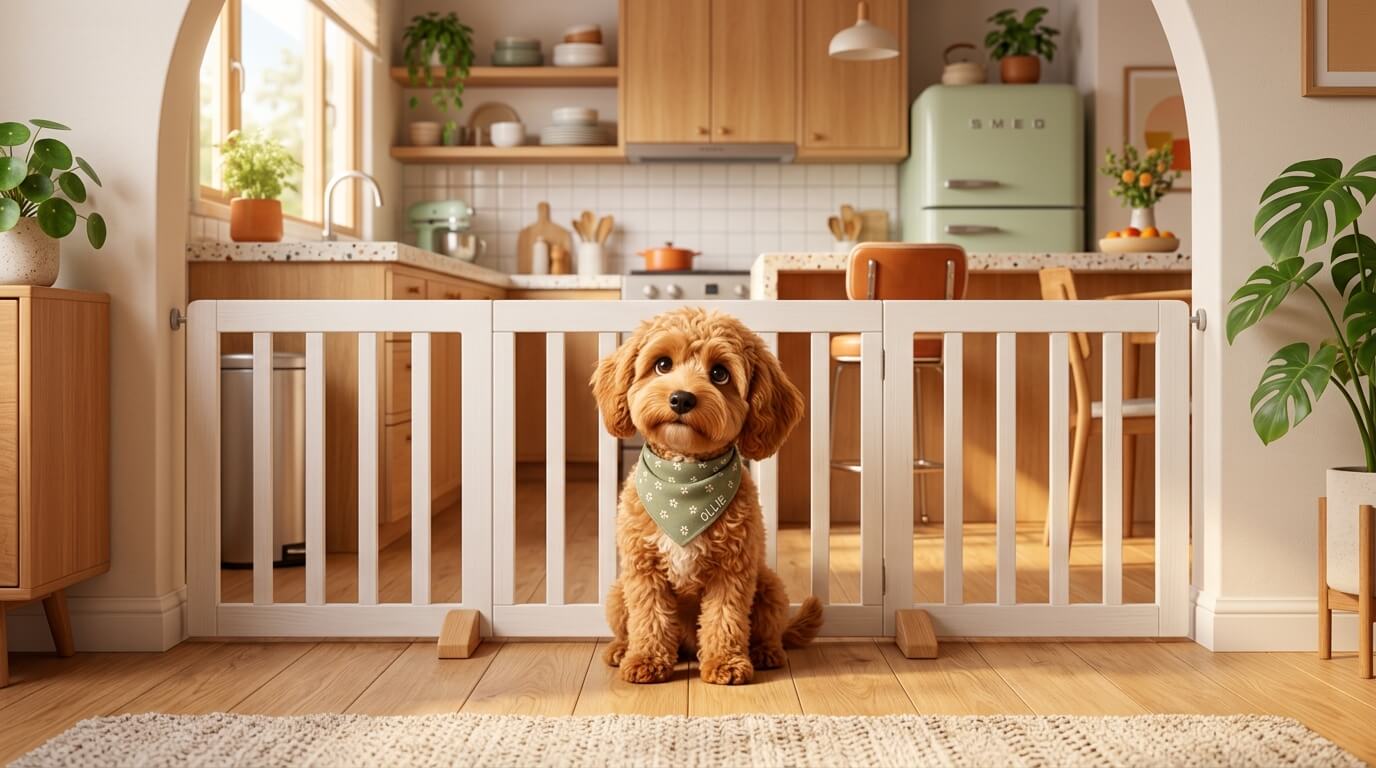
Use freestanding gates, pressure-mounted gates where appropriate, playpens, furniture placement, or closed doors. Be careful with pressure gates on delicate trim, painted door frames, or uneven walls. They can leave marks if installed too tightly or if your dog pushes against them repeatedly.
The goal is not to trap your dog all day. It is to prevent unsupervised rehearsals of bad habits: chewing, trash raids, carpet digging, balcony scratching, and door charging. For crate-based setups, use humane, gradual training. Humane World for Animals has a useful overview of crate training basics: crate training 101.
If you later add a dedicated product guide, link this section to your no-drill gate article: no-drill dog gates for apartments.
5. Dog-Proof the Trash, Kitchen, and Food Zones
Trash is one of the highest-risk zones in an apartment because it combines smell, danger, and mess in a small space. A dog who learns to open the trash may find cooked bones, food packaging, coffee grounds, spoiled food, medication wrappers, or cleaning residue.
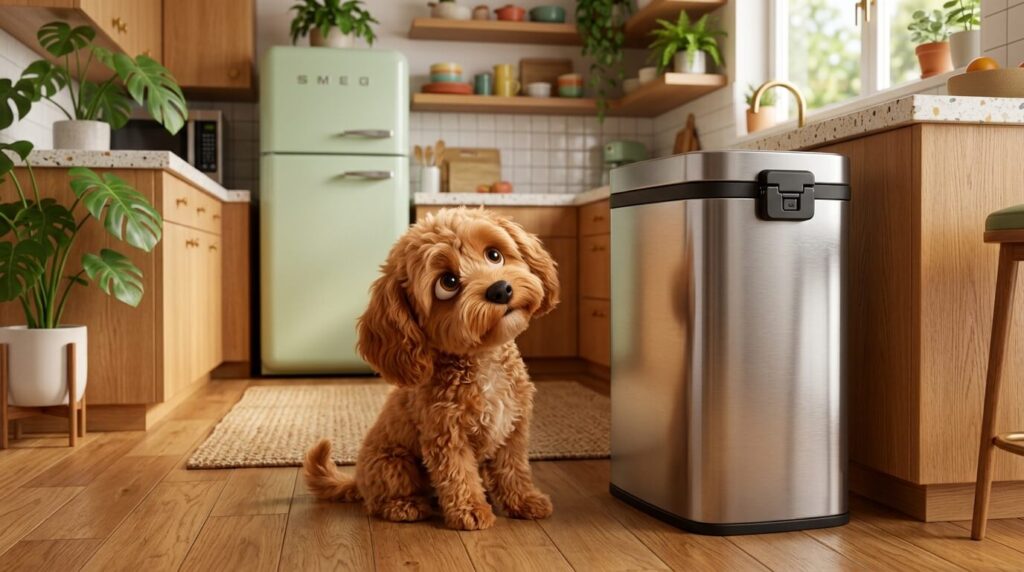
Use a locking trash can, put the trash inside a cabinet with a childproof latch, or place it behind a no-dog boundary. Bathroom trash matters too. Tissues, dental floss, hygiene products, and packaging can become dangerous if swallowed.
Kitchen counters also need management. Apartment kitchens are compact, so a dog may reach things you assumed were safe. Keep onions, grapes, chocolate, xylitol products, medications, and sharp packaging out of reach. If your dog is persistent, assume the counter is reachable when you are not watching.
For plant safety and ingestion risk, use the ASPCA toxic and non-toxic plant database before bringing greenery into a dog-friendly rental: ASPCA toxic and non-toxic plants list.
If trash is already a problem, connect this section to your product guide: best dog-proof trash cans for apartments.
6. Make Windows, Balconies, and Sills Safer
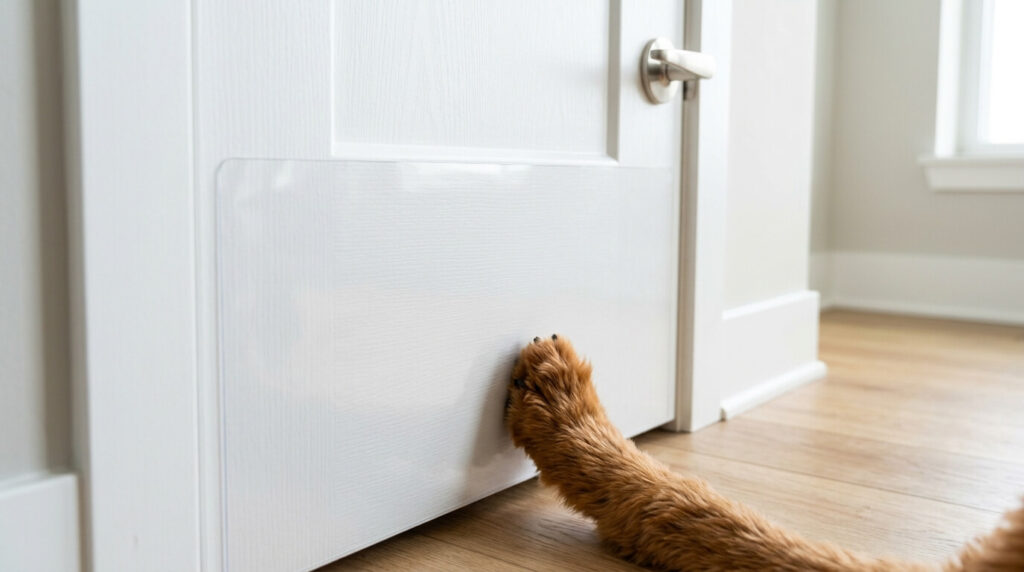
Windows and balconies are not decoration when you have a dog. They are access points, triggers, and safety risks. A dog may bark at passersby, scratch at blinds, push against screens, chew sill edges, or become fixated on movement outside.
Do not trust window screens to contain a dog. Do not leave balcony access open when you are not supervising. If your balcony has gaps, low railings, climbable furniture, or neighboring balconies close enough to tempt your dog, treat it as a restricted area.
Use removable visual barriers such as frosted film if your dog reacts to outdoor movement, but check that the product is renter-safe and removable. Move furniture away from windows if your dog uses it as a launch platform.
For a full safety setup, link to your balcony guide: how to dog proof a balcony. If barking at people outside is the main issue, use the window reactivity guide: dog barking at window passersby.
7. Control Odor, Hair, and Cleaning Before Move-Out
Odor is one of the most underestimated rental risks. You may stop noticing it because you live there every day, but a landlord, property manager, or future tenant will notice it quickly during inspection.
Use enzymatic cleaner for accidents, not just ordinary scented spray. Wash dog beds, blankets, and washable rugs on a schedule. Vacuum hair from corners, baseboards, vents, and under furniture. If your dog uses pee pads or indoor potty systems, empty and clean them before smell settles into the room.
Keep a small cleaning log if your dog has had accidents. That may sound excessive, but it helps you stay consistent and gives you a record if odor becomes a dispute later.
For deeper cleaning routines, connect this page to how to clean an apartment with a dog and how to control dog odor in an apartment.
Front Door and Hallway Barking: The Damage Nobody Sees
Not all rental damage is physical. Barking complaints can threaten your lease even if your apartment looks perfect. The front door is often the trigger point because your dog hears footsteps, delivery bags, elevator sounds, keys, and other dogs before you see anything.
Dog-proofing the front door means managing both behavior and access. Keep your dog back from the door with a bed, gate, leash station, or trained place cue. Add a rug near the entrance if slipping makes your dog more frantic. Practice calm exits when you are not in a rush.
If barking is already part of the problem, send readers to your dedicated guide: how to stop dog barking in an apartment. If your dog struggles when left alone, connect this with dog separation anxiety in apartments.
Dog-Proofing Plan by Your Dog’s Biggest Rental Risk
Not every renter needs the same dog-proofing setup. A sleepy senior dog, a teething puppy, a newly adopted rescue, and a high-energy young dog can damage a rental in completely different ways. Before you buy more rugs, gates, or cleaners, identify the behavior most likely to cost you money or create a safety issue.
This is where many apartment owners overspend. They buy a little bit of everything, but they never solve the one behavior that actually causes the damage. A better approach is to choose your dog-proofing plan based on your dog’s main risk pattern.
| Dog Type | Main Rental Risk | First Fix | Second Fix |
|---|---|---|---|
| Teething puppy | Chewed baseboards, cords, shoes, furniture legs | Block access to trim and cords | Create a rotating chew station with legal chew items |
| Anxious dog | Door scratching, carpet digging, barking complaints | Limit access to the front door and hallway sounds | Build a calm safe zone away from the entry |
| High-energy dog | Floor scratches, zoomies, knocked-over items | Cover the actual running path | Add structured exercise before peak energy times |
| Food-motivated dog | Trash raids, counter surfing, cabinet nosing | Upgrade trash and food storage first | Use boundaries around the kitchen when unsupervised |
| New rescue dog | Unknown chewing, escape attempts, bathroom accidents | Start with a smaller supervised zone | Expand access only after patterns are clear |
| Senior dog | Slipping, accidents, odor, difficulty reaching potty areas | Add non-slip paths and washable bedding | Increase cleaning frequency and simplify access routes |
If Your Dog Is a Chewer
Chewers need access control more than decoration. Move shoes, bags, cords, remotes, and laundry baskets out of reach first. Then protect the fixed apartment features you cannot easily replace: baseboards, door frames, cabinet corners, and built-in shelving.
A common mistake is giving a chewing dog the whole apartment because the owner feels guilty about limiting space. In a rental, that often creates more stress later. A smaller, safer area with legal chew options is kinder than giving a bored dog full access to expensive trim and then getting frustrated when they make the obvious choice.
If Your Dog Is Anxious Near the Door
For anxious dogs, the front door is usually the most expensive zone. Scratching, barking, lunging, and hallway fixation often happen there. Move the main bed or crate away from the entry if possible. Use a visual barrier so your dog is not staring at the door all day. Keep leash gear quiet and predictable so every sound near the door does not become a trigger.
If your dog barks at hallway noise, do not only think about soundproofing. Think about distance. A dog resting ten feet from the door is often easier to calm than a dog sleeping directly against it. Your setup should make the calm choice the easy choice.
If Your Dog Has Zoomies
Zoomies are not automatically a behavior problem, but in a rental they can become a floor problem. Watch where your dog actually runs. Most dogs repeat the same route: sofa to hallway, bed to rug, door to window, or kitchen to living room. Protect that route instead of covering random areas.
Use low-profile rugs that do not slide, and avoid thick rugs that become chew toys or potty targets. If your dog loses traction on turns, add grip where they pivot, not only where they start. This is especially important in apartments with laminate, hardwood, or tile floors.
If Your Dog Raids Trash
Trash raiding is not just messy. It can become a medical emergency and a landlord problem at the same time. A dog who gets into trash may ingest bones, packaging, spoiled food, dental floss, hygiene products, or cleaning residue. They may also spread odor into rugs and upholstery before you find the mess.
For food-motivated dogs, dog-proof the trash before you buy more toys. Use a locking can, put the can behind a cabinet door, or move trash to a closed pantry area. If your dog has succeeded once, assume they will try again with more confidence.
If Your Dog Is New to the Apartment
New dogs need temporary limits. Even if they were well behaved in a previous home, they do not know your building, smells, sounds, layout, neighbors, or routine yet. Give them a smaller supervised zone at first, then expand access once you know how they behave when bored, startled, tired, or left alone.
This is especially important for newly adopted dogs. The first week is not the time to test full-apartment freedom. It is the time to learn patterns: where they settle, what they chew, whether they bark at hallway sounds, and whether they understand the potty routine.
What Not to Buy for a Rental Apartment
Some dog-proofing products look useful but create new renter problems. Avoid anything that solves one issue by damaging the apartment in another way.
| Avoid | Why It Can Backfire | Renter-Safe Alternative |
|---|---|---|
| Permanent wall-mounted gates | They require holes and may violate the lease. | Freestanding or carefully placed pressure gates. |
| Cheap rubber rug pads | Some can stick to or discolor floors. | Floor-safe rug pads labeled for your surface. |
| Strong adhesive hooks on painted walls | They may pull paint during removal. | Over-door hooks, furniture-based storage, or tested removable strips. |
| Decorative open trash cans | Dogs can raid them easily. | Locking cans or cabinet-contained trash. |
| Balcony furniture near railings | It can become a climbing platform. | Keep furniture away from edges and supervise access. |
Move-In Documentation: The Step Most Dog Owners Skip
If you rent with a dog, your camera is part of your dog-proofing system. Before your dog has full access, photograph the apartment like you are preparing for a future disagreement. Take clear photos of floors, carpet, corners, door frames, baseboards, blinds, screens, balcony doors, appliances, and any existing scratches or stains.
Do not only take close-up photos. Take wide photos that show where the mark is in the room, then close-up photos that show the detail. If your lease uses a move-in condition form, submit those notes promptly and keep a copy. If the property manager already noted damage, save that too.
After you install renter-safe dog-proofing, take a second set of photos. This creates a simple timeline: the apartment before dog setup, the protective setup during your lease, and the apartment after cleanup. If your landlord questions a scratch or stain later, you have more than memory to rely on.
What to Photograph Before Your Dog Settles In
- Entry door, door frame, and threshold
- Baseboards in the living room, bedroom, and hallway
- Flooring in high-traffic paths
- Existing carpet stains or worn patches
- Window sills, blinds, and screens
- Balcony door, railing area, and any pre-existing marks
- Kitchen cabinet corners and trash area
- Bathroom door and lower cabinets
- Any wall marks near where gates or furniture will sit
This step does not make the apartment safer by itself, but it makes your renter position much stronger. Good dog-proofing is prevention. Good documentation is protection.
Move-Out Deposit Recovery Plan
Dog-proofing should begin on move-in day and end with move-out documentation. Before you leave, remove gates, rugs, pads, and adhesive products slowly. Clean under every protected area. Check whether rug pads left marks. Wash walls near food and water stations. Vacuum hair from vents and corners.
Take final photos in the same angles as your move-in photos. If you hired professional cleaning or carpet cleaning, save receipts. If you replaced a small item, such as a door stopper or blind slat, keep the receipt and photo.
The goal is to make the apartment easy for your landlord to approve. A clean, documented, reversible setup gives you the strongest position if there is a deposit question.
FAQ
How do I dog proof a rental apartment without drilling?
Use freestanding gates, furniture placement, washable rugs, cable boxes, cabinet storage, and removable visual barriers. Avoid permanent wall-mounted hardware unless your lease allows it in writing.
What is the first thing I should dog-proof in an apartment?
Start with the areas most likely to cause safety risks or deposit deductions: cords, trash, doors, baseboards, floors, and balcony access. Those zones are more urgent than decorative upgrades.
How do I protect rental floors from dog scratches?
Use washable runners in high-traffic paths, floor-safe rug pads, regular nail trims, and enrichment before high-energy times. Make sure any rug pad is safe for your exact flooring type.
Are pressure-mounted dog gates safe for rentals?
They can be renter-friendly, but they are not risk-free. If installed too tightly or used on delicate trim, they can leave marks. Test placement, use wall cups only if allowed, and check the lease before adding hardware.
How do I stop my dog from chewing baseboards in a rental?
Block access, provide appropriate chew items, increase enrichment, supervise high-risk times, and address anxiety or boredom. Bitter deterrent can help some dogs, but it should not be the only solution.
How do I keep dog odor out of a rental apartment?
Use enzymatic cleaner for accidents, wash dog bedding and rugs on a schedule, vacuum hair from corners and vents, and clean indoor potty areas before odor settles into soft surfaces.
Can I dog-proof a balcony in a rental?
You can make balcony access safer with supervision, furniture placement, and removable barriers, but you should not make permanent changes without written permission. Never rely on screens or balcony railings alone to contain a dog.
Next Step
Start with one room, not the whole apartment. Walk through your rental at your dog’s eye level and mark every zone they can chew, climb, scratch, knock over, raid, or soil. Then fix the deposit-risk areas first: floors, cords, trash, doors, and odor.
After the setup is in place, take photos. Good dog-proofing protects your dog, but good renter documentation protects you.