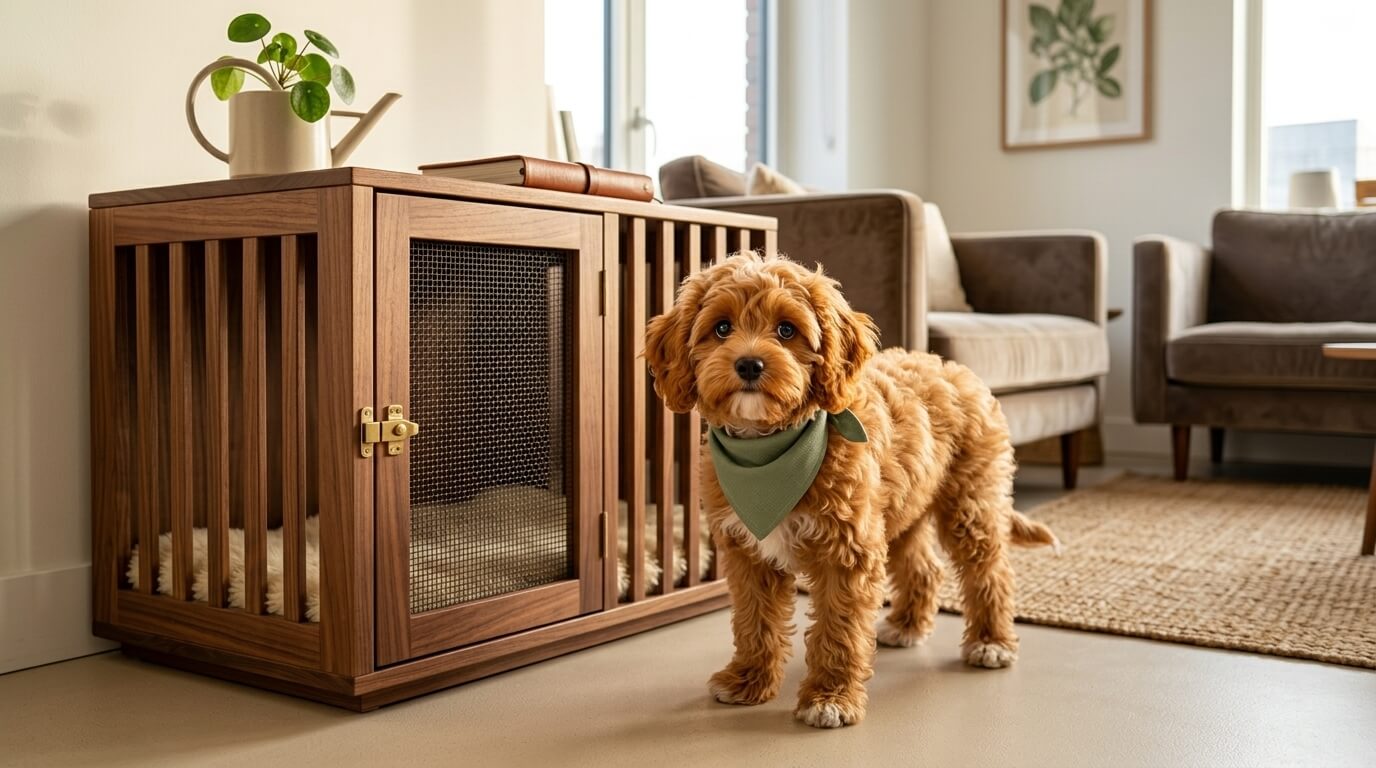
Crate training apartment dogs is not just about teaching a dog to sleep in a crate. In an apartment, the crate also has to fit your layout, stay quiet enough for shared walls, avoid damaging floors, and help your dog feel safe without turning confinement into stress.
The best crate setup for renters is calm, reversible, and neighbor-friendly. It should give your dog a predictable resting place while protecting your apartment from chewing, potty accidents, door scratching, and unsafe roaming when you cannot supervise.
This guide explains how to crate train an apartment dog in seven gradual steps, how to choose an apartment dog crate, where to place it, how long crate time should be, what to do about barking or crying, and which mistakes can make crate anxiety worse.
Crate Training Apartment Dogs: Quick Answer
To crate train an apartment dog, start with the crate door open, feed meals near or inside the crate, reward calm voluntary entry, practice short door-closed sessions while you stay nearby, then build tiny absences before using the crate for real alone time. Never use the crate as punishment, and do not leave a dog crated longer than their age, training level, and potty needs allow.
| Training Goal | What to Do | Apartment Reason |
|---|---|---|
| Reduce crate fear | Let your dog enter voluntarily and pair the crate with food. | Prevents loud panic in shared-wall housing. |
| Protect the rental | Use the crate during short unsupervised windows after training. | Limits chewing, accidents, and door scratching. |
| Keep neighbors calm | Build duration slowly and avoid letting panic escalate. | Reduces barking complaints and hallway noise stress. |
| Choose renter-safe gear | Use a crate mat, washable bedding, and floor protection. | Protects flooring and makes move-out cleanup easier. |
| Prevent over-crating | Match crate time to age, potty needs, and comfort level. | A crate is a tool, not an all-day storage solution. |
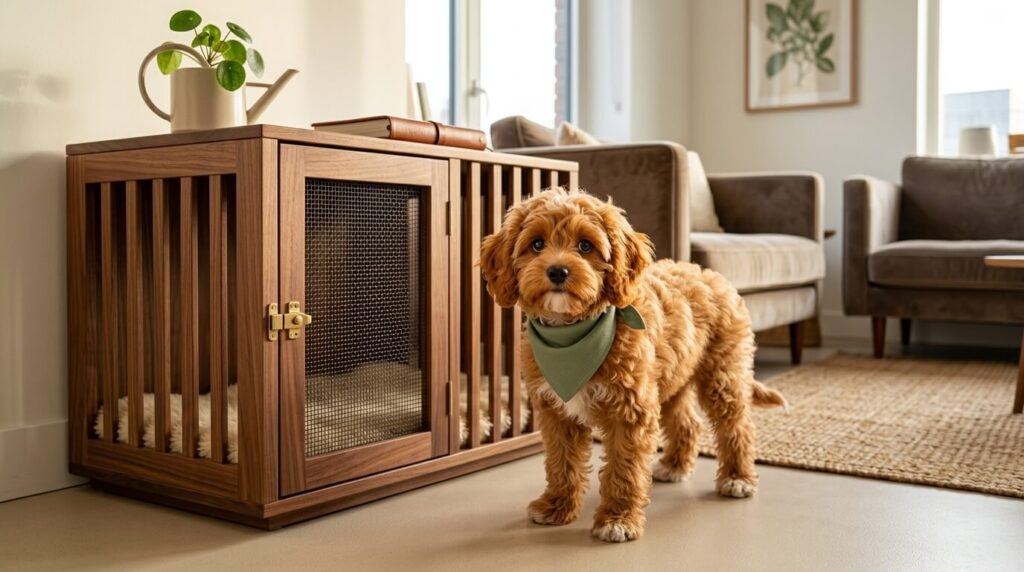
Table of Contents
Is Crate Training Good for Apartment Dogs?
Crate training can be good for apartment dogs when it is introduced gradually and used responsibly. A crate can help with safety, potty training, chewing management, travel preparation, and recovery after veterinary care. It can also give a dog a quiet place to rest in a small home where every room is shared with people.
But crate training is not automatically humane just because a crate is involved. The difference is the process. A dog who is slowly taught that the crate predicts meals, rest, and safety may choose to relax there. A dog who is forced inside, ignored during panic, or left too long may become more stressed.
Humane World for Animals explains that crates should not be used for punishment and that puppies under six months should not remain crated for long stretches. Their crate training overview is worth reading before you make the crate your main apartment tool: Humane World: crate training 101.
Choosing the Best Dog Crate for Renters
The best dog crate for renters is not always the biggest or most expensive crate. It is the crate that fits your dog, your apartment layout, your floor protection plan, and your daily routine without damaging the rental.
| Crate Type | Best For | Renter Notes |
|---|---|---|
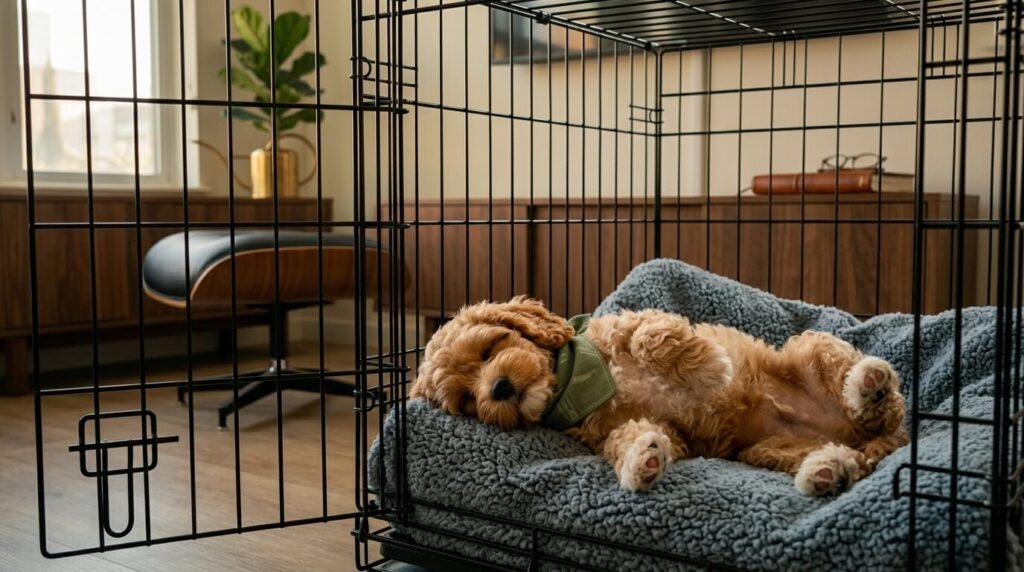
| Wire crate | Most adult dogs and puppies in training | Good airflow and visibility, but can rattle on hard floors. |
| Plastic travel crate | Dogs who like a den-like feel | Often quieter visually, but bulkier to store. |
| Furniture-style crate | Small apartments where the crate stays visible | Looks better, but confirm ventilation, sizing, and chew safety. |
| Soft crate | Travel-trained calm dogs | Not ideal for chewers, puppies, or escape-prone dogs. |
| Playpen plus crate | Puppies and dogs needing more space | Can work well if it fits your room and does not mark floors. |
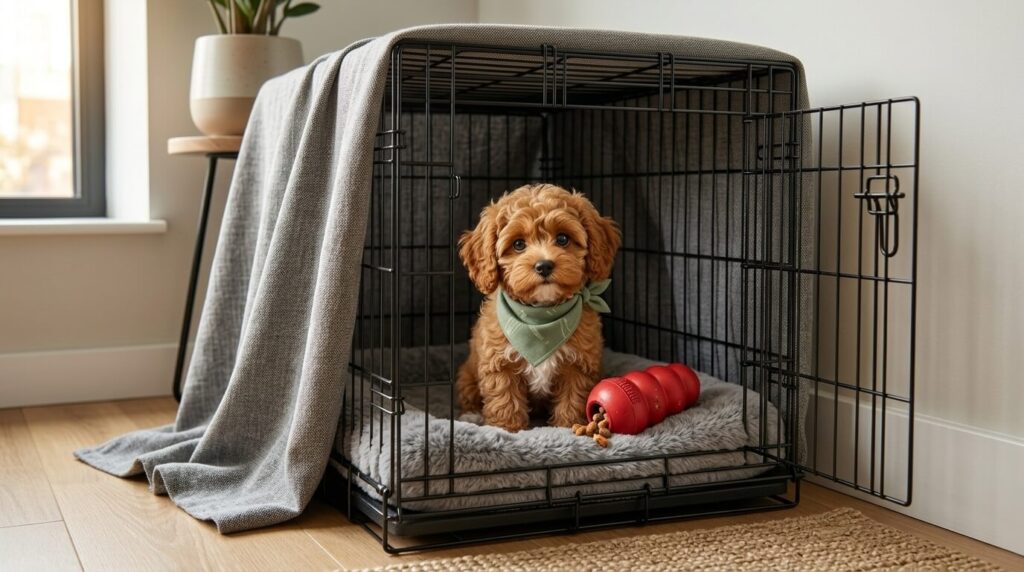
If your dog is still learning, a simple wire crate with a washable mat and floor protection is often the most practical starting point. If your apartment is tiny and the crate will live in the living room, a furniture-style crate may eventually make sense, but do not choose style over safety or fit.
For later product recommendations, this page can naturally link to your crate review page: best dog crates for apartments. Keep this training guide focused on how to use the crate correctly.
Crate Size: The Most Common Apartment Mistake
A crate should be large enough for your dog to stand, turn around, and lie down comfortably. It should not be so large that a puppy can use one end as a bathroom and the other end as a bed. For growing puppies, use a divider if the crate includes one.
In apartments, crate size has another problem: people often buy too small because they are trying to save floor space. That can make the dog uncomfortable and resistant. A crate that barely fits your dog may look better in the room, but it will not help training.
Measure your dog from nose to base of tail and from floor to the top of the head or ears, depending on ear carriage. Then compare that with the crate manufacturer’s sizing chart. If your dog is between sizes, think about posture, bedding thickness, and whether your dog curls up or stretches out.
Where to Put a Dog Crate in an Apartment
Crate placement matters more in an apartment than in a house. The wrong location can turn the crate into a noise trigger zone. The right location can make it easier for your dog to settle.
A good crate location is usually:
- Away from the front door if hallway sounds trigger barking
- Away from direct sun, drafts, radiators, and air vents
- On a stable surface with floor protection underneath
- Close enough to family life that the dog does not feel isolated
- Not in a tight path where people constantly step over or bump it
- Not directly beside windows if your dog reacts to outdoor movement
For many renters, the best spot is a bedroom corner, a quiet living room wall, or a low-traffic area near the dog’s bed. Avoid placing the crate right beside the apartment door unless your dog is unusually calm around hallway noise.
The 7-Step Apartment Crate Training Protocol
Step 1: Make the Crate Boring and Available
Put the crate in place with the door open. Let your dog sniff it without pressure. Toss a few treats near the entrance, then just inside, then farther back. Do not shut the door during this stage. The goal is curiosity, not confinement.
If your dog refuses to go near the crate, move slower. Feed near the crate. Place a familiar blanket nearby. Reward any calm approach. Forcing the dog inside may save two minutes today and cost you weeks later.
Step 2: Feed Meals in or Near the Crate
Meals create predictable positive associations. Start with the bowl near the entrance if your dog is hesitant. Move it gradually farther inside over several meals. If your dog already enters happily, feed inside with the door open.
Do not close the door just because your dog finally went in. Let them learn that entering does not trap them. That trust is especially important in apartments, where panic noise can become a neighbor issue quickly.
Step 3: Add Short Door-Closed Moments
Once your dog enters comfortably, close the door for a few seconds while they eat or lick a safe treat. Open it before they worry. Repeat this many times. You are teaching that the door closing is normal and temporary.
If your dog immediately panics, you moved too fast. Go back to open-door practice and shorter door movements.
Step 4: Practice Calm Time While You Stay Nearby
Sit in the room while your dog rests in the crate. Read, work, or fold laundry. Keep the session boring. Apartment dogs often need to learn that the crate is not only for when you leave; it is also a normal resting place while life continues.
Start with a few minutes and build gradually. Release your dog when they are calm, not while they are frantically demanding to exit.
Step 5: Practice Micro-Absences
Walk out of sight for 5 seconds, then return. Then 10 seconds. Then 30 seconds. Then one minute. This feels slow, but it is much faster than repairing crate panic later.
Use a phone camera if you cannot see your dog. Watch for pacing, barking, pawing, drooling, or frantic escape attempts. If these appear, shorten the absence.
Step 6: Build Real Apartment Scenarios
Practice the situations your dog will actually face: you taking out trash, checking mail, showering, cooking, leaving for a short errand, or working in another room. These small repetitions teach your dog that separation begins and ends calmly.
Do not make the first real crate test a full workday. Build from daily apartment moments first.
Step 7: Use the Crate Responsibly
Once training is solid, use the crate for appropriate windows: naps, short errands, safe rest, travel preparation, or times when you cannot supervise. Keep crate time age-appropriate and give your dog exercise, potty breaks, and connection outside the crate.
If your workday is long, combine crate training with a walker, daycare, lunch break, playpen, or safe room setup. Read this next if you are unsure about time limits: how long can you leave a dog alone in an apartment.
Apartment Crate Schedule by Age and Routine
Crate training apartment dogs becomes much easier when the schedule matches the dog’s age and real daily routine. A puppy, adult dog, senior dog, and newly adopted dog should not follow the same crate plan. The crate should support the dog’s needs, not force the dog into a schedule that only works for the owner.
| Dog | Best Crate Use | Apartment Caution |
|---|---|---|
| Puppy under 6 months | Short naps, potty-training support, supervised quiet time | Needs frequent potty breaks and should not be crated for long workdays. |
| Adolescent dog | Short alone-time practice, chewing management, recovery after exercise | Needs enough movement and enrichment before crate sessions. |
| Healthy adult dog | Short errands, calm rest, predictable safe-zone time | Still needs gradual training before long absences. |
| Senior dog | Comfortable rest space with easy entry and soft bedding | May need more potty breaks and joint-friendly crate access. |
| New rescue dog | Optional safe space, introduced slowly with the door open | May have unknown crate history; watch carefully for panic. |
Puppy Crate Schedule in an Apartment
For puppies, the crate should be part of a potty-training and nap routine, not an all-day solution. A simple pattern works best: potty break, short play, meal or treat near the crate, nap, then another potty break. If the puppy wakes and cries after sleeping, they may genuinely need to go out.
Apartment puppies also need hallway and elevator practice separately from crate training. If every crate session ends with frantic rushing to the elevator, the whole routine becomes stressful. Keep exits calm and predictable.
Adult Dog Crate Schedule in an Apartment
For adult dogs, crate training often works best when it is connected to ordinary daily moments: a short errand, a shower, a grocery trip, a work call, or quiet time after a walk. This teaches the dog that the crate is not only a sign that you are leaving for hours.
If you plan to use the crate during a workday, test the schedule on camera first. A dog who is calm for one hour is not automatically ready for seven. Build duration gradually and add a dog walker or midday break if needed.
Senior Dog Crate Schedule in an Apartment
Senior dogs may appreciate a quiet crate, but the setup has to be comfortable. Use soft bedding, easy entry, non-slip flooring around the crate, and shorter crate windows. If your senior dog resists the crate after years of accepting it, check for pain, stiffness, vision changes, or urinary issues.
Neighbor-Friendly Crate Setup
Crate training apartment dogs requires noise awareness. A little whining during adjustment may happen, but repeated panic barking is not something to ignore. Your setup should reduce triggers before they start.
| Noise Problem | Apartment Fix | Why It Helps |
|---|---|---|
| Hallway barking | Move crate away from front door | Reduces direct exposure to footsteps and elevator sounds. |
| Crate rattling | Use a stable mat under the crate | Reduces metal vibration on hard floors. |
| Visual stimulation | Use a breathable crate cover on part of the crate | Can make the crate feel calmer without blocking airflow. |
| Sudden building sounds | Use white noise at low volume | Masks hallway sounds without overwhelming the dog. |
| Loneliness or panic | Reduce duration and train smaller steps | Noise is often a training signal, not stubbornness. |
If barking is a major issue outside crate time too, connect this page to your barking guide: how to stop dog barking in an apartment.
Renter-Safe Crate Setup: Floors, Noise, and Storage
The best dog crate for renters is not only about the dog. It also has to work for the apartment. A crate can scratch floors, rattle on hard surfaces, block a walkway, trap odor in bedding, or become an eyesore in a studio if the setup is not planned.
Start with the floor. Put a non-staining, floor-safe mat under the crate, especially on hardwood, laminate, or vinyl. Avoid cheap rubber backing unless you know it is safe for your floor type. Some pads can leave marks, stick to the surface, or discolor flooring over time.
Next, reduce rattling. Wire crates can make a surprising amount of noise when a dog shifts position, especially on hard apartment floors. A stable mat underneath can reduce vibration. Make sure the crate is level and not touching a wall where movement creates repeated tapping sounds.
Finally, plan storage. In a small apartment, the crate is part of the room. If you fold it daily, choose a crate that is easy to collapse. If it stays open all the time, choose a location that does not block paths, vents, doors, or emergency exits. A crate that constantly annoys you will be harder to use consistently.
Crate Setup Checklist for Renters
- Use a floor-safe mat under the crate.
- Keep the crate away from shared walls if rattling is loud.
- Do not block heaters, air vents, balcony doors, or exits.
- Wash bedding often enough to prevent apartment odor.
- Keep cords, curtains, and blinds out of reach.
- Place the crate where your dog can rest without constant foot traffic.
- Check that the crate door opens fully without hitting furniture.
- Keep the crate visible enough for daily use but not in the busiest hallway path.
If your apartment is very small, do not assume you need the crate in the living room. A bedroom corner may be quieter. A dining nook may work if it is away from the front door. The right location is the place where your dog settles and your apartment still functions.
What Not to Do
Do Not Use the Crate as Punishment
If the crate predicts punishment, your dog will not view it as a safe place. Send your dog to the crate for rest, food, and calm routines, not because you are angry.
Do Not Force the Dog Inside
Forcing a dog into the crate may create resistance, fear, or escape behavior. Use food, patience, and small steps instead.
Do Not Ignore Panic
There is a difference between mild protest and panic. If your dog is drooling, throwing themselves at the crate, screaming, or trying to escape, the plan is too hard.
Do Not Crate Too Long
A crate is not an all-day solution for every dog. Puppies, seniors, and anxious dogs usually need shorter windows and more support.
Do Not Cover the Crate Without Airflow
A partial breathable cover can help some dogs settle. A heavy, non-breathable cover can create overheating and stress. Always keep airflow and temperature in mind.
Crate Training Troubleshooting
My Dog Cries as Soon as the Door Closes
You probably moved too fast. Return to open-door feeding and tiny door-closed moments measured in seconds. Open the door before panic starts, then build again.
My Dog Barks at Hallway Sounds From the Crate
Move the crate away from the door, add low white noise, and practice calm crate time when the building is quieter. Also work separately on hallway noise triggers.
My Dog Scratches or Bites the Crate
Stop long crate sessions and reassess. Your dog may be panicking, under-exercised, not crate-ready, or uncomfortable. Check fit, bedding, temperature, and training pace.
My Puppy Has Accidents in the Crate
The crate may be too large, the schedule too long, or the puppy too young to wait. Shorten crate time, add potty breaks, and use a divider if the crate is oversized.
FAQ
How long does crate training apartment dogs take?
Some dogs adjust in a few days, while others need several weeks. Puppies, rescue dogs, anxious dogs, and dogs with negative crate history usually need a slower plan.
Should I let my puppy cry it out in the crate?
No. Mild brief protest can happen, but panic should not be ignored. If your puppy is frantic, reduce the difficulty and build crate comfort more gradually.
Where should I put a dog crate in an apartment?
Choose a quiet, low-traffic area away from the front door, direct sun, drafts, and hallway noise. A bedroom corner or calm living room wall often works better than the entryway.
What is the best dog crate for renters?
The best dog crate for renters is one that fits the dog properly, protects the floor, is easy to clean, and does not require permanent apartment changes. Wire crates are practical for many dogs, while furniture-style crates may work for calm dogs in visible living spaces.
Can I crate my dog while I am at work?
Only if your dog is crate trained and the duration is appropriate. Many dogs need a walker, lunch break, playpen, safe room, or daycare instead of being crated for a full workday.
Is a crate or playpen better for apartment dogs?
A crate is better for dogs who settle in a smaller den-like space. A playpen may be better for puppies, longer absences, or dogs who need more room. Many apartment owners use both.
Can crate training help with separation anxiety?
Not by itself. For some dogs, a crate helps create structure. For others, confinement makes anxiety worse. If your dog panics when alone, work with a veterinarian or certified behavior professional.
When a Crate Is Not the Right Apartment Solution
Crates are useful, but they are not right for every dog or every situation. If your dog injures themselves trying to escape, panics immediately, soils the crate repeatedly, or becomes more distressed with confinement, stop and reassess. A playpen, gated room, or supervised safe zone may be kinder and safer while you work on training.
Dogs with true separation anxiety may not improve just because the space is smaller. Some become more frantic when confined. If your dog shows severe distress when alone, the priority is not buying a better crate. The priority is a behavior plan with professional support.
A crate should make apartment life safer and calmer. If it is making your dog louder, more panicked, or more likely to hurt themselves, it is not serving its purpose yet.
Next Step
Do one low-pressure crate session today. Put food near the crate, leave the door open, and reward your dog for choosing to investigate. If your dog already enters easily, close the door for only a few seconds while they eat, then open it before they worry.
Crate training apartment dogs works best when the crate becomes predictable and safe before it becomes necessary. Build comfort first, then duration.