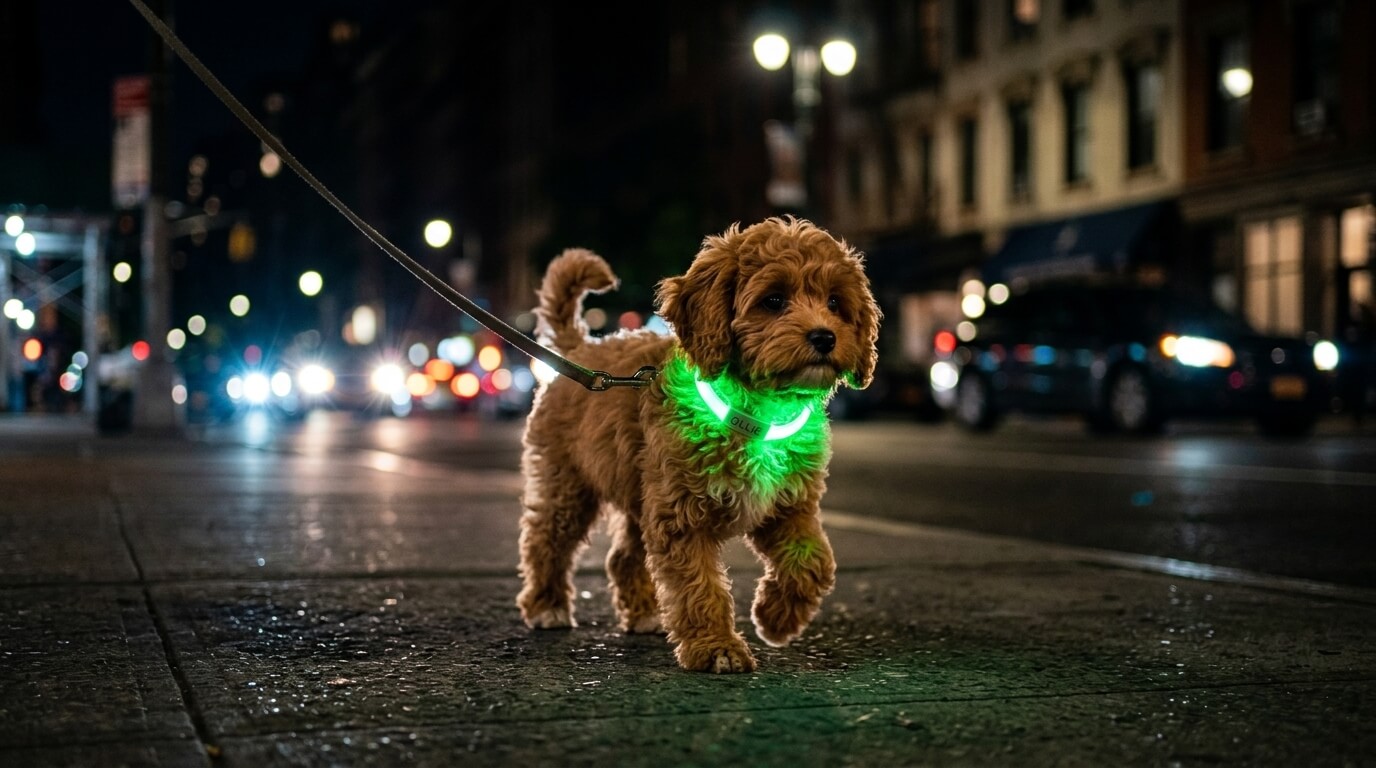
LED Dog Collar for Night Safety: Quick Answer
An led dog collar for night safety can make your dog easier to see during dark apartment walks, especially near driveways, parking garages, bikes, scooters, delivery cars, and poorly lit sidewalks. It should support safe leash handling, not replace it.
Choose a light that fits comfortably, stays visible from multiple angles, has reliable battery life, and does not bother your dog. Pair it with reflective gear for you, a stable leash, and a predictable route.
Table of Contents
Why Visibility Matters
Night walks are different in apartment neighborhoods. Cars pull from garages, cyclists move fast, scooters appear silently, and dark dogs disappear against pavement. A lighted collar helps other people notice movement sooner. It also helps you see where your dog is sniffing.
Visibility is only one layer. You still need leash control, awareness, route choice, and a dog who can handle night triggers. If your dog is reactive after dark, work on distance and calmer routes too.
7 Essential Bright Checks
1. 360-Degree Visibility
Look for light visible from the front, side, and back. A tiny tag light can disappear under fur.
2. Comfortable Fit
The light should not replace a stable walking collar or harness unless designed for leash attachment. Many light collars are visibility tools only.
3. Battery Reliability
Recharge before the battery dies. Keep backup reflective gear for long walks.
4. Weather Resistance
Rain, snow, and puddles are normal for apartment walks. Choose gear that matches your climate.
5. Color Choice
Bright, steady colors are often easier to track than fast flashing modes. Avoid settings that bother your dog or distract drivers.
6. Fur Visibility
Long fur can hide collar lights. A harness light or clip-on may work better.
7. Human Visibility
Your dog should not be the only visible one. Wear reflective or lighted gear too.
Apartment Night-Walk Plan
Pick routes with lighting, open sightlines, and fewer blind corners. Avoid loading docks, garage exits, and narrow alleys when possible. Keep your phone charged but do not stare at it while walking. Use a shorter leash near roads and elevators.
If you live alone, connect this routine with single person dog safety. For elevator routines at night, use dog elevator training.
Fit and Comfort
Introduce the light during the day. Let your dog sniff it, wear it briefly, and receive rewards. Check for rubbing, weight, noise, and whether the light hits the eyes. Some dogs dislike dangling clip lights but tolerate collar bands. Others prefer a harness light away from the neck.
Never rely on a lighted collar that is not built for leash attachment as your main restraint. Use a proper leash attachment point and treat the LED item as visibility support.
Who Should Skip or Use Alternatives
Skip flashing lights if your dog is startled, tries to chew the gear, or has neck sensitivity. Use reflective harnesses, clip-on lights, or human-worn lights instead. For tiny dogs, weight matters. For long-haired dogs, placement matters.
Common Mistakes
Using Light Instead of Leash Control
Visibility does not stop traffic.
Forgetting to Charge
Build charging into the leash station.
Choosing Flashing Modes Only
Steady light may be calmer and easier to judge.
Ignoring Your Own Visibility
Drivers need to see the human too.
Letting Fur Hide the Light
Check visibility from a distance.
FAQ
Is a lighted collar necessary?
Not always, but it helps when sidewalks, parking lots, or crossings are dark.
What color is best?
Choose a bright color visible in your environment. Consistent visibility matters more than trend.
Can my dog sleep in it?
No. Remove walking gear after walks.
Is reflective gear enough?
Reflective gear needs external light. LED gear creates its own visibility.
Can it bother my dog?
Yes. Introduce slowly and watch body language.
Next Step
If you want an led dog collar for night safety, choose comfort, visibility, and reliability over brightness alone. Pair it with smart routes, well-fitted gear, and your own visibility.
LED Collar vs. Clip Light vs. Reflective Harness
An LED collar is only one visibility option. Some dogs do better with a clip-on light, a lighted harness, or reflective leash. Long-haired dogs may hide a collar light. Tiny dogs may find a heavy light annoying. Strong pullers still need proper walking gear.
| Gear | Best for | Caution |
|---|---|---|
| LED collar | Neck-level visibility on short-coated dogs | May be hidden by fur |
| Clip-on light | Adding light to existing harness | Can swing or bother some dogs |
| Lighted harness | Full-body visibility | Fit and weight matter |
| Reflective leash | Showing the human-dog connection | Needs external light |
Night Route Check
Walk your route once without your dog if the area is new. Notice garage exits, dark stairwells, broken lights, loose dogs behind fences, noisy bars, delivery zones, and blind corners. A lighted collar helps others see your dog, but route choice prevents many problems before visibility matters.
Apartment owners should also check lobby and elevator routines. Late at night, the building may feel different. Delivery drivers, shift workers, and other dogs may appear unexpectedly. Keep your dog close through doors and elevators.
Training the Gear
Introduce the LED item at home before the first night walk. Turn it on across the room. Reward calm looking. Let your dog sniff it while off. Put it on briefly during the day. Then use it for a short evening potty trip before a full night walk.
If your dog paws at the light, freezes, or tries to chew it, change placement or use a different visibility option. Safety gear should not make the walk more stressful.
Battery and Maintenance Routine
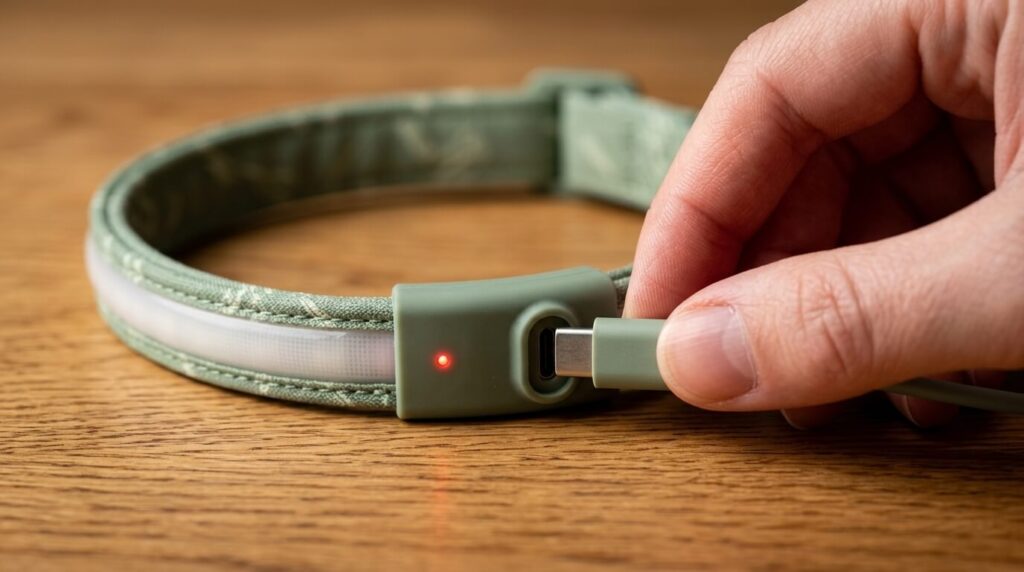
Charge lights near the leash station. Check brightness before leaving. Keep a backup reflective leash or clip light. Wipe dirt and rain off after walks. Do not leave electronics where your dog can chew them.
Cold weather can reduce battery performance. Long winter walks may need backup visibility. If the light dims halfway through the route, your safety layer is weaker than you think.
Urban Night Hazards
Watch for bikes, scooters, turning cars, ride-share pickups, parking garage exits, and people who cannot see a dark leash. A light on the dog and a visible human jacket make the pair easier to understand. Keep the leash from stretching across sidewalks or bike lanes.
If your dog reacts to strangers at night, use distance. Visibility does not solve reactivity. Choose routes with space and reward calm passing.
The Three Visibility Layers
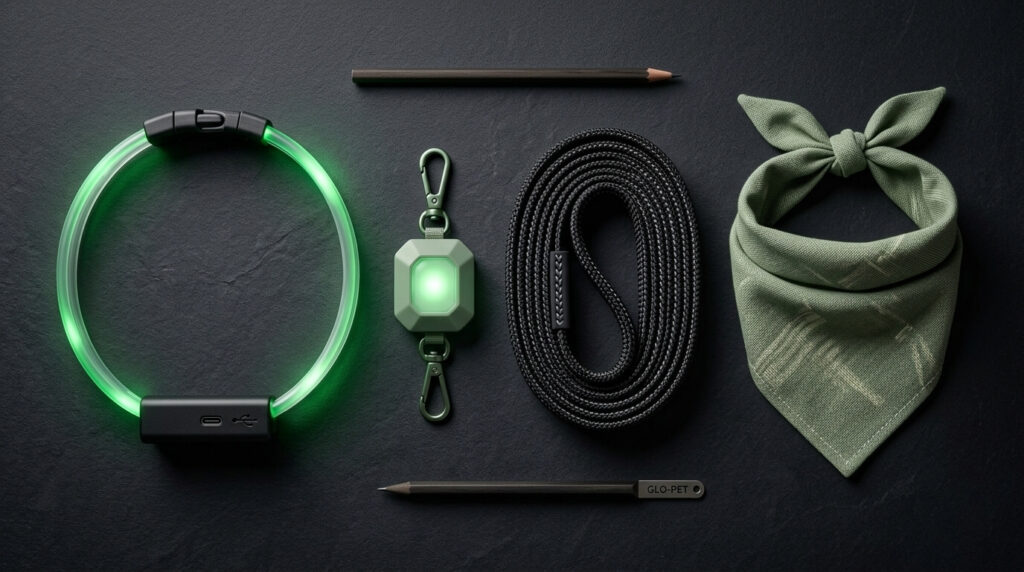
Layer one is your dog: LED collar, harness light, or clip light. Layer two is the leash connection: reflective leash, visible traffic handle, or light color that shows where the dog ends and the human begins. Layer three is you: reflective jacket, small light, or bright clothing. All three layers help drivers, cyclists, and pedestrians understand the pair.
An led dog collar for night safety is weakest when it is the only visible item. A dark human holding a dark leash attached to a bright dog can still be confusing. Make the whole team visible.
Route Types
Quick Potty Route
Use the shortest well-lit path with minimal crossings. Keep the dog close and avoid long sniffing near parking exits.
Exercise Route
Choose wider sidewalks and predictable crossings. Use visible gear for both of you and avoid peak delivery traffic if possible.
Bad Weather Route
Rain reduces visibility. Use brighter gear, slower walking, and extra drying afterward. If sidewalks are icy, prioritize traction over distance.
Late-Night Emergency Route
Have one route planned for urgent potty trips. It should be boring, close, and well lit.
Dog Comfort and Sensory Issues
Some dogs dislike flashing lights near their face. Some dislike a light bouncing on the chest. Some ignore everything. Watch your dog rather than assuming the gear is comfortable because it is small. If your dog scratches, freezes, or refuses to walk, try a different placement.
For dogs with sound sensitivity, choose gear that does not jingle. For dogs with thick coats, test visibility from across the street. For small dogs, check weight. For puppies, prevent chewing and introduce gradually.
Night-Walk Training Skills
Teach a curb pause, a close walking cue, a U-turn, and a leave-it cue. Visibility helps others see your dog, but training helps you avoid hazards. Practice these skills during the day before relying on them at night.
Reward your dog for checking in with you. Night environments can be more exciting or spooky. A dog who looks back at you is easier to guide around bikes, dogs, and strangers.
Maintenance and Storage
Store the light with the leash. Charge it after the final walk of the evening. Check for cracks, loose charging ports, weak clips, and frayed bands. Remove the gear after walks so your dog does not chew it or sleep in it.
If the light gets wet, dry it according to the manufacturer instructions. Do not assume water resistance means careless storage. A dead light at 11 p.m. is not helpful.
More Questions
Can an LED collar replace a leash?
No. It is visibility gear, not control gear.
Should the light flash?
Use the mode that is visible without bothering your dog or distracting traffic.
Do black dogs need brighter gear?
Dark coats disappear faster at night, so strong visibility layers are especially useful.
Is it useful in cities with streetlights?
Yes, because shadows, parked cars, rain, and moving bikes still reduce visibility.
7-Day Action Plan
Day one is for observation. Do not buy, trim, wash, light, or train aggressively yet. Watch your dog in the real apartment situation and write down what actually happens. The most useful details are time, place, trigger, your dog’s body language, and what helped them recover.
Day two is for setup. Clear the area where the routine will happen. Put supplies in one place. Remove hazards. Decide what success looks like for the first tiny session. If the first goal is too big, make it smaller.
Day three is for introduction. Show the object or routine without pressure. Reward calm interest and let your dog move away. This is especially important for sensitive dogs, senior dogs, and dogs who have already had one bad experience with similar equipment.
Day four is for one short real repetition. Keep it almost too easy. Stop before your dog is frustrated. Write down the result. If your dog handled it well, repeat at the same level rather than immediately making it harder.
Day five is for troubleshooting. If your dog avoided the setup, change distance, surface, timing, or reward. If your dog was excited, reduce movement and stimulation. If you were rushed, pick a calmer time. The human schedule is part of the training plan.
Day six is for apartment fit. Check neighbors, floors, doors, storage, cleaning, charging, water, sound, and traffic flow. A plan that works once in the living room may fail at the front door during a rainy workday.
Day seven is for deciding whether to continue, change, or pause. A good led dog collar for night safety plan should make life easier without adding daily conflict. If the routine still feels stressful, simplify it or ask a qualified professional for help.
Owner Notes to Keep
Keep a small note on your phone with three headings: what worked, what did not work, and what to change next time. This prevents you from repeating the same mistake every day. It also helps if you later ask a trainer, groomer, veterinarian, or property manager for advice.
Useful notes include your dog’s best time of day, favorite reward, stress signs, recovery time, and any apartment condition that changed the outcome. For example, a dog may tolerate a routine after a walk but not before breakfast. Another dog may do well in the bedroom but not by the front door.
Expanded FAQ
How do I know if this is helping or making things worse?
Look at recovery. If your dog returns to normal faster, accepts the routine more easily, and shows softer body language, the plan may be helping. If your dog hides earlier, refuses food, avoids the area, or becomes more reactive, the plan is too hard.
Should I use treats every time?
Use rewards generously while the routine is new. Over time, you can use a mix of food, praise, sniffing, release, and calm access. Do not remove rewards too early if your dog is still unsure.
What if my apartment is too small?
Small apartments require clearer zones. Pick one mat, corner, shelf, drawer, or doorway routine. Keep supplies together. The less space you have, the more predictable the setup should be.
What if my dog has a medical issue?
Ask your veterinarian before assuming a behavior or comfort problem is only training. Pain, skin irritation, ear discomfort, vision changes, anxiety, and age can all change how a dog responds.
Can I solve this in one weekend?
Sometimes you can improve the setup quickly, but durable behavior usually needs repetition. A weekend can start the plan. The following weeks make it reliable.
What should I avoid saying in the article or recommendation?
Avoid promising perfect results. Avoid claiming that one product fixes fear, pain, or behavior. Use practical language: may help, can support, works best when, ask a professional if signs are severe.
Apartment Case Studies
Case Study: The Busy Workday Owner
The owner has only two calm windows each day: early morning and late evening. The best plan is not a long session. It is a tiny repeatable routine attached to something already happening, such as after the morning walk or before dinner. When a routine is tied to a stable daily cue, it is more likely to survive real life.
Case Study: The Noise-Sensitive Dog
The dog reacts to hallway sounds, appliances, and sudden handling. The owner should not begin with the hardest version of the task. Start with distance, stillness, and rewards. Add sound, movement, water, light, tools, or direct contact only after the dog shows relaxed body language. A sensitive dog can make progress, but the steps must be smaller.
Case Study: The Small Studio
The apartment has no separate utility room, so the setup must be compact and easy to reset. A single mat, basket, drawer, or shelf becomes the station. The owner keeps supplies together and avoids spreading gear across the room. In a studio, visual clutter quickly becomes behavior clutter, so simple systems win.
Case Study: The Senior Dog
The dog is cooperative but slower, less flexible, and more easily startled. The owner uses non-slip surfaces, shorter sessions, and more breaks. Comfort matters more than finishing. If pain, confusion, or sudden resistance appears, the next step is veterinary advice, not more pressure.
Final Pre-Publish Checklist
- The title starts with the focus keyword and includes a number plus a clear benefit word.
- The article does not claim personal testing, veterinary approval, or perfect results.
- The content explains who should skip the product or method.
- The reader gets apartment-specific setup details, not generic pet advice.
- There are natural internal links to related training, cleaning, safety, or behavior pages.
- External sources support general safety and behavior guidance.
- The Next Step section gives one practical action the reader can take today.
This checklist keeps the page useful for readers and safer for future monetization. It also keeps the tone grounded. The reader should feel guided, not sold to. A strong apartment dog article solves the immediate problem and shows the limits of the solution.
Simple Tracking Template
For the first two weeks, use a simple tracking note. Write the date, time, setup used, your dog’s starting mood, what you changed, and the result. Keep the note short enough that you will actually use it. The goal is not a perfect journal. The goal is to see patterns that memory misses.
Use three ratings: easy, workable, or too hard. Easy means your dog stayed relaxed and the routine helped. Workable means your dog needed support but recovered quickly. Too hard means your dog avoided, froze, barked, mouthed, scratched, hid, or could not take food. If you see two too-hard sessions in a row, make the next session smaller.
Also track the apartment conditions. Was it raining, dark, noisy, late, rushed, crowded, hot, or near a hallway trigger? Apartment context often explains why the same dog succeeds one day and struggles the next. A product or training method may look inconsistent when the real issue is timing or environment.
After two weeks, review the notes. Keep what reliably helped. Remove steps that added friction. If the problem is not improving, bring the notes to a trainer, groomer, veterinarian, or other qualified professional. Specific notes make advice better and reduce guesswork.
Real-Life Night-Walk Reminders
Check the light before the elevator arrives, not after you are already outside. If the battery is weak, switch to backup reflective gear or choose a shorter, brighter route. The safest routine is the one you can follow when tired.
Keep the light separate from your main leash attachment unless the product is specifically built for leash force. Visibility gear can fail, slip, or break; leash control should remain on a reliable collar or harness. This matters most near roads, garages, and building entrances.
After each walk, remove the light and store it with the leash. Dogs should not sleep in electronic walking gear, and puppies should not be allowed to chew charging ports or plastic parts.
Final Route Test
Before relying on the light for late walks, test it on your usual route at dusk. Stand across a safe distance and check whether the light is visible from the front, side, and rear. If parked cars, long fur, rain, or your jacket hides the light, adjust the placement before a truly dark walk. Repeat this test after charging changes too.